A Homeowners Guide: How to Paint your Front Door
Table of content
Has your front door seen better days, and is it showing deteriorating signs of wear and tear? Or did you just get a new front door that was only available in a limited colour range, and you’d like to add a pop of personality to your home? Perhaps you’ve had your front door a few years but are looking to refresh the kerb appeal of your house?
Luckily, learning how to paint your front door is one of the quickest and easiest ways to upgrade the look of your home. It can also make good business sense if you are considering selling in the near future.
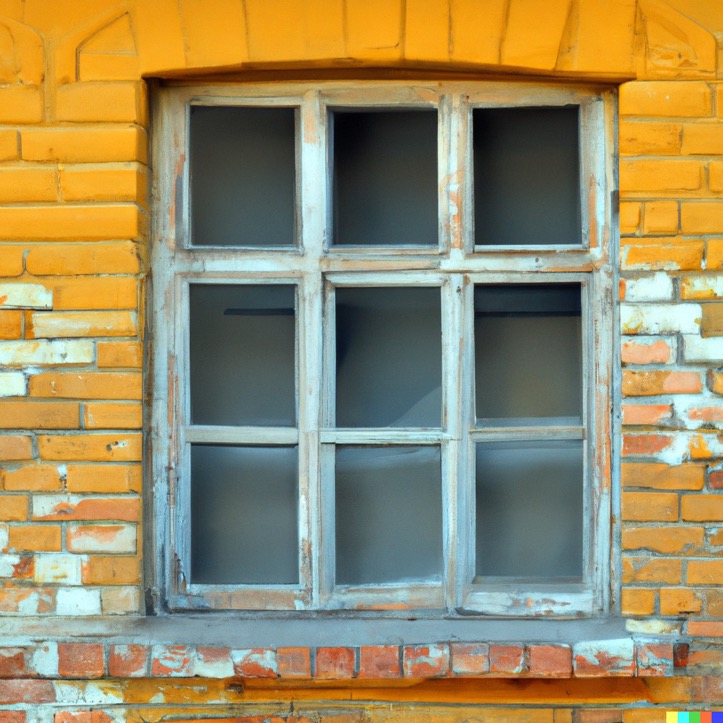
Before embarking on this effort, you may want to read our article on when to replace a door to make sure your time and money aren’t better spent on a front door replacement. You can also consider this article and video on painting windows.
What to Consider When it Comes to Colour
Selecting the new colour for your front door may be one of the most fun parts of this DIY job. We all know that colour significantly influences our mood and reflects a bit of our personality. So, while you may feel like a kid in a candy store perusing the rainbow of paint swatches at your local retailer, there are some important factors to consider when choosing your new front door colour.
Mood/Colour Meaning – there are many articles detailing the vibes that various shades give off. For example, yellow is typically associated with a warm, cheerful feeling, while red is considered lucky under feng shui principles.
Age of Home – for a consistent look, it can be beneficial to stick to colour palettes from the era in which your home was built. For example, blues and greens tended to be popular in the Edwardian period. In some historic areas, there may also be restrictions as to colour choice, so it is a good idea to research.
Match other Features – if your shutters or window trim are already painted a particular shade, you will achieve a more streamlined look by matching the new front door to this (or be willing to embark on a repainting job of these features as well).
Front Door Style – it is worth considering whether the new colour choice will stand in contrast to your front door’s existing style or could potentially help elevate its look.
Front Door Location – when a front door is exposed to lots of daylight, it is wise to veer towards bolder shades, as colours tend to fade. If your door is covered by an overhang, lighter shades may work just as well.
Interior Style – since your front door is the gateway to the rest of your home, you can help ensure a cohesive feel by selecting a colour that matches the style of décor inside. For a list of interior decorating styles and their complementary colours, check out the chart in this article.
Getting to Work
When you think you have decided on the perfect new shade for your front door, be sure to give it a test by painting it onto a piece of lining paper and holding it up against the exterior walls. Remember to view the new colour at various times of day to see how it looks in different lighting.
Once satisfied, it’s time to follow these straightforward steps for the repainting project. Allow 3 to 5 hours for the actual prepping and painting work, but to ensure adequate drying times in between various coats, be prepared for this DIY endeavour to take the better part of a full day. It’s important, therefore, to get an early start and preferably work in warm, dry weather.
To help save time, make sure you have everything you need with this comprehensive supply list:
Hammer or drill
2 sawhorses
Old towels
Screwdriver
Masking tape
Newspaper
Sponge/cloth
Sugar soap
Latex gloves
Flat paint scraper
Multipurpose filler
Filling knife
Sandpaper
Dust mask
Tack cloth
1-2 inch paintbrush
Mini foam roller and tray
Exterior primer or undercoat
Exterior-grade paint
Easy steps to repaint
Follow these simple steps to repaint your door:
Painting the door flat across sawhorses reduces drips in your paint job and provides easier access to the bottom and hinge sides of the door. Hinge pins can be tapped out with a hammer, or the entire hardware can be removed with a drill. Remember to use old towels to protect the door from scratches when horizontal.
Any door hardware, such as handles, locks and letterboxes, should preferably be removed and bagged up with its corresponding screws for easy re-installation. If unable to, then use masking tape to carefully cover all surfaces to remain unpainted, including any inset glass panels, which should also be covered with newspaper to avoid paint splatter.
Wipe your door down with a sponge and warm water to remove all dirt and grime. For spots that are difficult to remove, try using a sugar soap solution, and wearing gloves to protect sensitive hands.
Chip away any loose flakes of old paint with a flat scraper, and fill holes and cracks in the door’s surface by applying an exterior wood filler with a putty knife. Then give the whole door a good sanding down with medium grade sandpaper (120 grit) to start, followed by fine grade (180-220 grit), using sanding tools to assist as needed. Be sure to wipe the door free of all dust using tack cloth when finished.
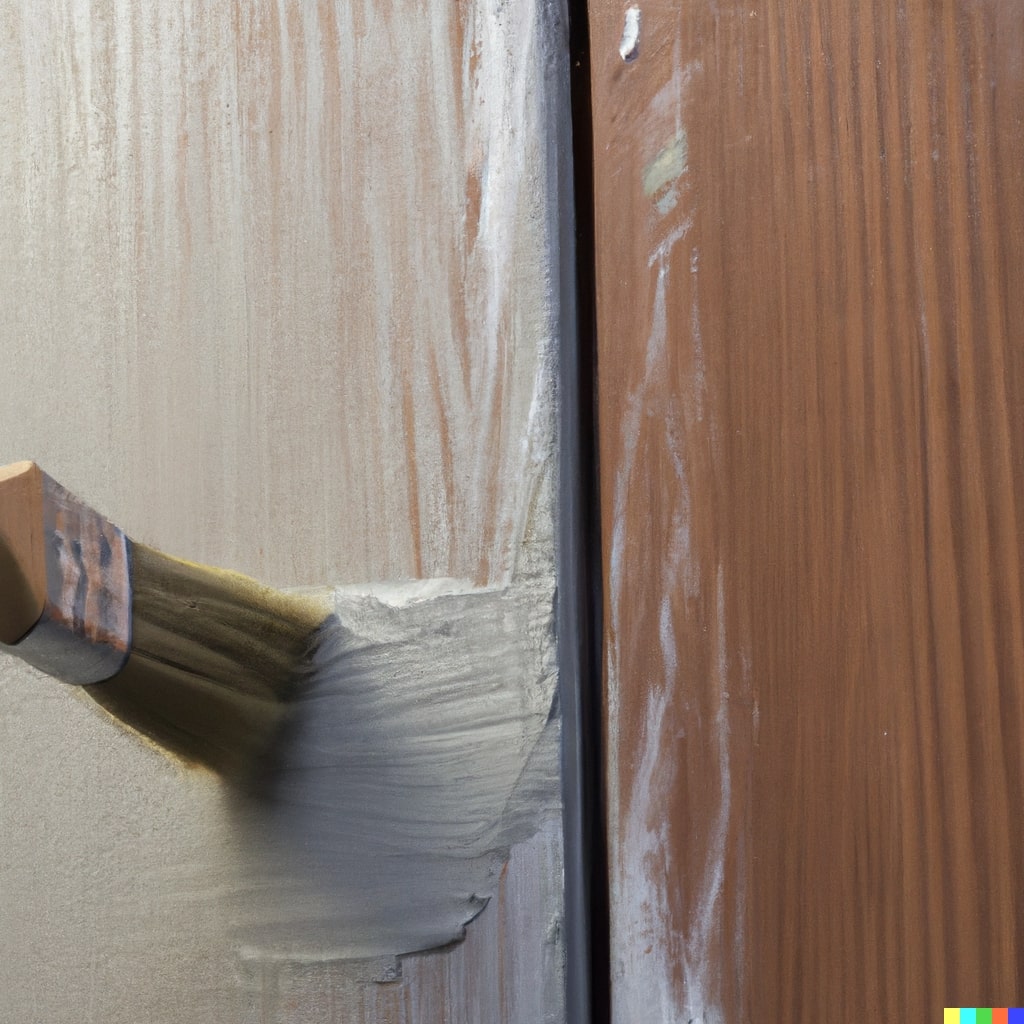
Using a 1–2-inch brush for decorative areas and a mini foam roller for raised panels, apply a primer on a bare wood surface or undercoat on previously painted doors. Primers are thin and tend to dry quickly, so be ready to apply a second coat within 30-60 minutes, with a light sanding in between to remove any imperfections.
The same tools can be used to apply the exterior-grade topcoat you have chosen for your front door. Start with the top panels, then proceed to the vertical and horizontal sections before finishing with the bottom panels. Two coats of paint should be applied, allowing 2-4 hours between, per the paint manufacturers’ instructions.
Once the paint has fully dried, have someone help you re-hang your door on its hinges and re-attach all fixtures. You’ll want to take a bit of care for the first few weeks to allow the paint to cure fully, but shouldn’t need any other sealing agent, as exterior paint is designed to withstand different weather conditions. As you stand back and admire all you’ve learned about how to paint your front door, you may just feel inspired to spruce up your windows, too – read on here for Klar’s expert guidance on painting wooden windows.
FAQs
Can I paint a front door without removing it?
Yes, you can repaint a front door without removing it but you will need to securely prop it open during your work to allow it to dry properly and avoid damaging the paint. You run the risk of a messy look with drips more likely in a vertical position and limited access to the hinge and bottom edges.
Do I need to prime my front door before painting?
You should select an exterior-grade primer if painting a bare wood surface, either on a brand-new wood door or one where all of the old paint has been removed. For previously painted doors, an undercoat should be applied before painting.
How long will a paint job last on a front door?
A proper paint job on a front door should last at least 3-5 years, depending on the quality of the products and the job done. You can easily touch up small spots using sandpaper and applying a bit of undercoat and topcoat.